- Home
- Help Center
- Won't-open checklist
Garage Door Won't Open: What to Check First
By Marvin Driscoll · Garage Door Guides Editor · Updated May 2026 · 6 min read
A dead door is either a thirty-second fix or a real repair, and five checks in the right order tell you which. Work the list top to bottom; each step is safe, free, and takes about two minutes.
In this guide
- Steps one and two: power and lock mode
- Step three: the safety sensors
- Step four: the manual release
- Step five: look at the springs, then stop
Questions it does not answer? Call (346) 458-9100, any hour.
Check in this order: power, lock mode, safety sensors, the manual release, then look (never touch) at the springs. Steps one through four fix a surprising share of dead doors for free. A broken spring, a snapped cable or a door that is heavy on the manual release means stopping and calling; those are hardware failures under real tension.
Steps one and two: power and lock mode
Power first. Check that the opener's outlet is live by plugging in anything else, then check the breaker and, if the outlet is a GFCI or shares one, its reset button. Storm-season power blips trip these constantly in Houston, and a dark opener light is the tell.
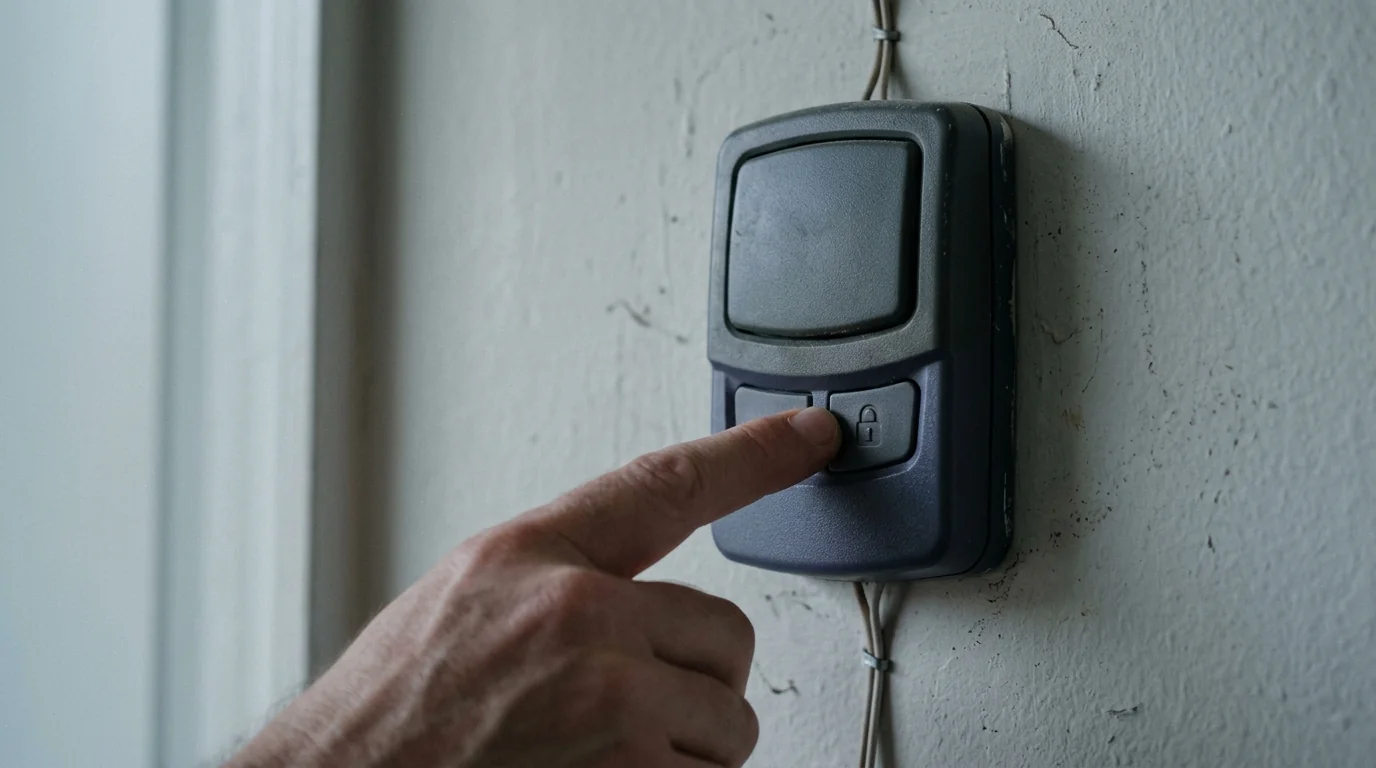
Then lock mode. Most wall consoles carry a lock or vacation button that disables every remote while the wall button still works; it gets pressed by elbows and children daily across this city. If the wall button moves the door but remotes do not, hold the lock button a few seconds and try again. Fresh remote batteries close out this step.
Step three: the safety sensors
The two small eyes near the floor must see each other for the door to close; on most openers a blocked or misaligned beam also announces itself with clicking and flashing lights. Look for a blinking sensor LED, clear anything in the path, wipe both lenses, and nudge a bracket that has been kicked out of line until both LEDs hold steady.
Sensor trouble technically stops closing rather than opening, but it is checked here because flashing opener lights make people assume a dead machine when the fix is a rag and a gentle push. Persistent sensor faults after alignment point to wiring, which is a quick professional fix covered on the repair page.
Step four: the manual release
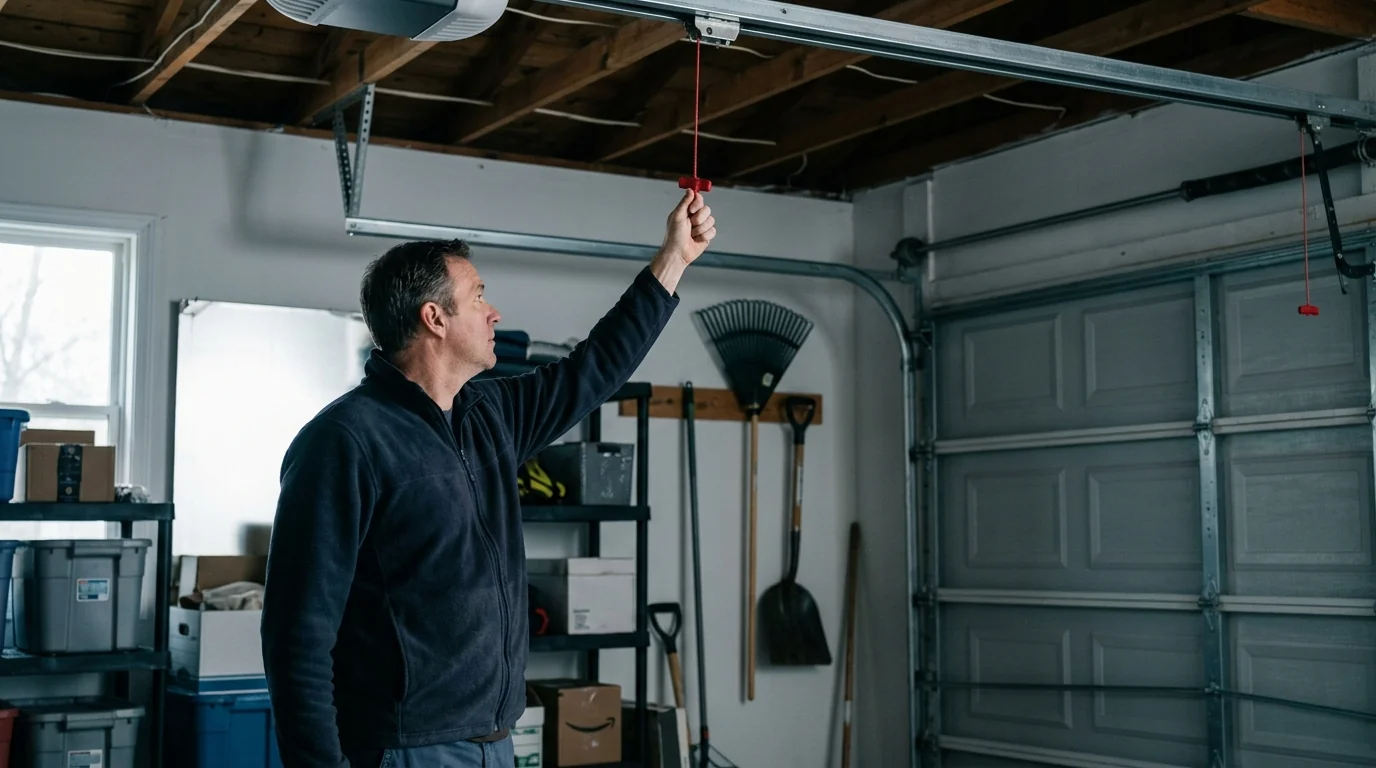
With the door fully closed, pull the red release cord and lift by hand. A door that rises smoothly with modest effort and stays put at waist height has healthy springs, which points the blame back at the opener. A door that feels like dead weight, flies up on its own or will not hold position has a spring or balance problem, and the test ends there.
Never pull the release on a door stuck open: without spring support engaged, the door can fall. If yours is stuck up, leave it connected and call; a stuck-open door is also an open invitation, which is why it jumps our queue as an emergency.
Step five: look at the springs, then stop
From the floor, eyes only: a torsion spring above the door with a visible gap in the coil is broken, full stop, and usually confirmed by the loud bang someone heard earlier. Frayed or hanging cables, a crooked door or a popped roller end the checklist the same way. These parts hold hundreds of pounds of tension and are the one genuinely dangerous zone on the door; there is no safe homeowner version of this repair.
What the five steps buy you is an honest phone call: you can say power is fine, lock mode off, sensors aligned, door is heavy on manual, coil has a two-inch gap, and we can quote the spring job before the truck leaves. Ten minutes of checking, no wasted service call either way.
Keep reading
Where to go from here
If the checklist ended at the springs, these pages carry the next step.
Rather just ask a person?
The phone is answered 24/7. Describe the door and get a straight answer and a flat written price, no reading required.